NewsNEWS
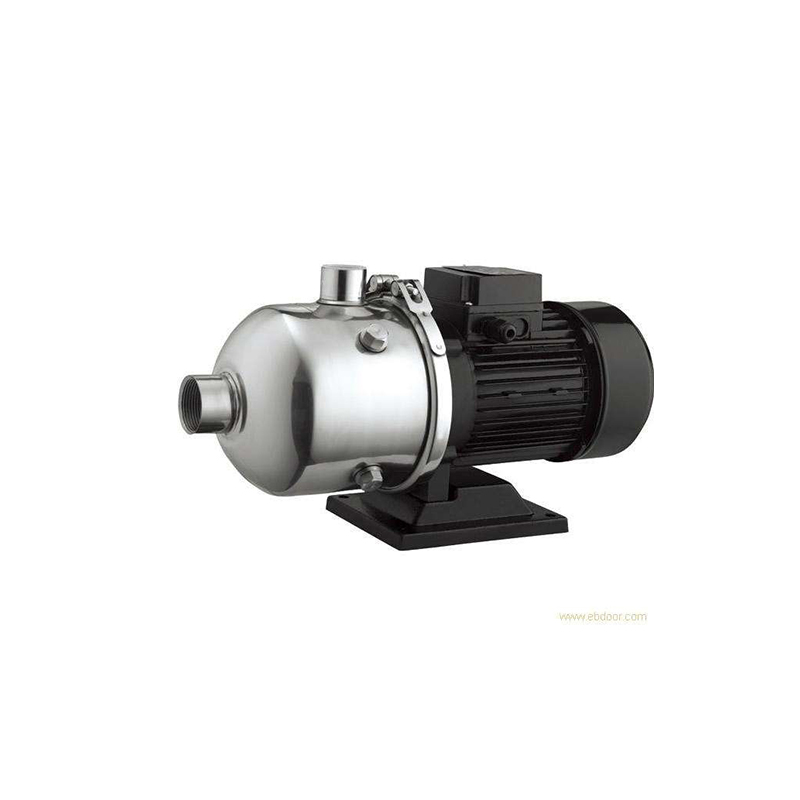
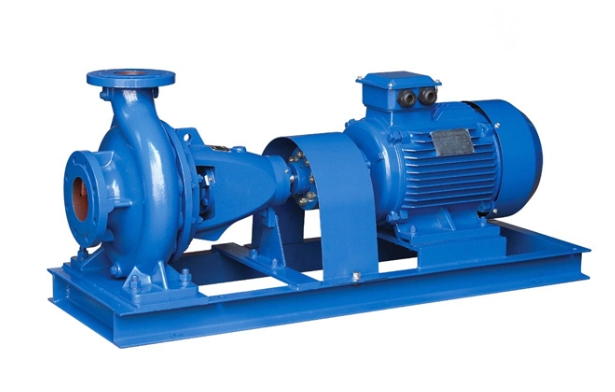
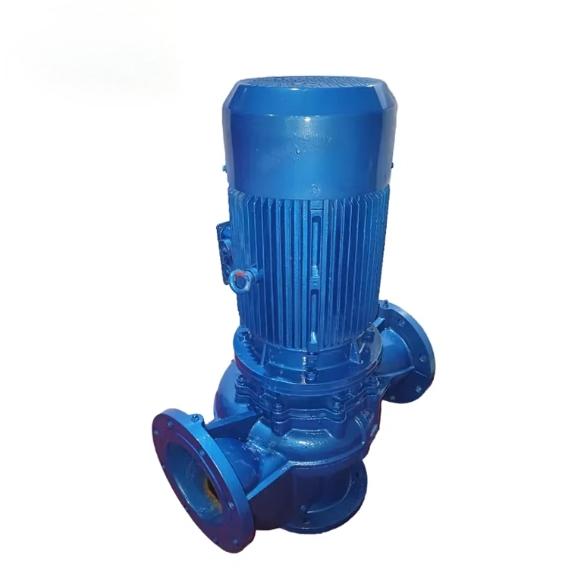
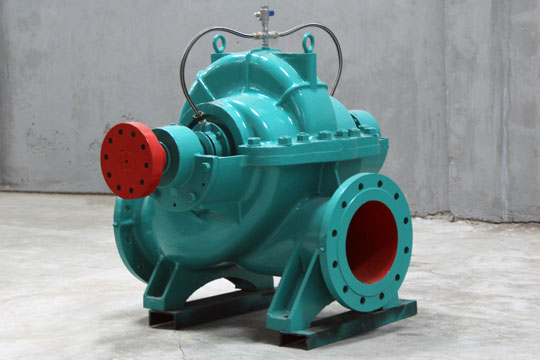
Featured products

Contact Us
Guidelines for Installation and Use of Single Screw pumps
2025-06-05The Essential Guide: Installation & Use of Single Screw Pumps for Peak Performance
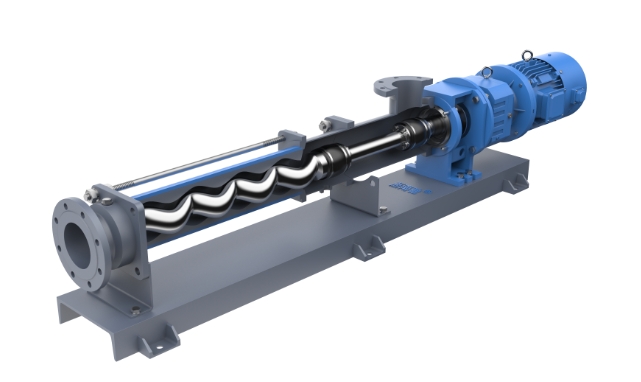
Single Screw Pumps, also known as progressive cavity pumps, are renowned for their gentle, efficient handling of viscous, abrasive, and shear-sensitive fluids. Proper installation and use are absolutely critical to maximize their lifespan, efficiency, and reliability. Following these guidelines ensures your Single Screw Pump operates smoothly for years to come.
Why Proper Installation Matters for Single Screw Pumps
A poorly installed Single Screw Pump faces immediate risks. Misalignment causes excessive wear on the stator and rotor. Incorrect piping induces strain, leading to premature failure. Improper foundation invites vibration issues. Adhering to installation best practices prevents these costly problems. It safeguards your investment in this versatile pumping technology.
Phase 1: Pre-Installation Preparation for Your Single Screw Pump
-
Review Documentation: Thoroughly study the manufacturer’s installation, operation, and maintenance manuals specific to your Single Screw Pump model. Never skip this step.
-
Inspect Components: Carefully unpack the pump and all parts. Check for any shipping damage to the pump casing, rotor, stator, shaft, baseplate, or piping connections. Report damage immediately.
-
Prepare the Foundation: Ensure the mounting surface (foundation or skid) is level, rigid, and robust enough to handle the pump’s weight and operating forces. Clean the surface thoroughly.
-
Gather Tools & Equipment: Have all necessary tools (alignment tools, torque wrenches, lifting equipment) and materials (gaskets, sealants, lubricants recommended by the manufacturer) ready.
Phase 2: Core Installation Guidelines for Single Screw Pumps
-
Positioning & Mounting:
-
Carefully lift the Single Screw Pump using designated lifting points. Never lift by the shaft or piping.
-
Position it precisely on the prepared foundation. Use shims as needed to achieve perfect leveling.
-
Securely fasten the pump baseplate using the correct anchor bolts and torque specifications. Avoid over-tightening.
-
-
Critical Alignment (Driver to Pump):
-
This is paramount for Single Screw Pump longevity. Misalignment is a primary failure cause.
-
Precisely align the pump shaft with the driver shaft (motor, gearbox). Use laser alignment tools for accuracy.
-
Follow the manufacturer’s specific tolerance requirements (angular and parallel). Re-check alignment after final tightening and again after initial operation.
-
-
Piping Connections:
-
Minimize Strain: Support suction and discharge piping independently near the pump flanges. Never let pipe weight hang on the Single Screw Pump connections.
-
Suction Line: Keep it as short, straight, and large in diameter as possible. Ensure it’s airtight to prevent air ingress and loss of prime. Install a strainer to protect the pump from debris.
-
Discharge Line: Include a pressure gauge and a relief valve set to the Single Screw Pump’s maximum pressure rating. A check valve prevents backflow.
-
Flange Connection: Use correct gaskets. Tighten flange bolts evenly and progressively in a star pattern to the specified torque. Avoid warping flanges.
-
-
Auxiliary Connections:
-
Connect any seal flush lines, cooling lines, or pressure sense lines per the manual. Ensure proper flow and pressure.
-
Connect vibration or temperature sensors if equipped.
-
Phase 3: Initial Commissioning & Startup of Your Single Screw Pump
-
Pre-Start Checks:
-
Verify correct rotation direction (usually indicated by an arrow on the casing). Jog the motor briefly to confirm.
-
Ensure adequate lubrication of bearings and gearbox (if applicable) as per the manual.
-
Manually rotate the shaft by hand (disconnect driver if needed). It should turn smoothly without binding.
-
Prime the Single Screw Pump completely. Single Screw Pumps are not self-priming from dry.
-
Open suction valves fully. Crack open the discharge valve slightly for startup.
-
-
First Startup:
-
Start the pump with the discharge valve partially open.
-
Immediately check for leaks at seals, flanges, and connections.
-
Monitor amperage, discharge pressure, vibration, and noise levels.
-
Gradually open the discharge valve to the desired operating point. Avoid dead-heading (zero flow) operation.
-
-
Initial Run & Monitoring:
-
Operate the pump under load for a short initial period (e.g., 30-60 minutes).
-
Continuously monitor temperature (bearings, stator), pressure, vibration, and noise. Compare readings to specifications.
-
Check for any unusual leaks or performance issues.
-
Phase 4: Guidelines for Safe & Efficient Operation of Single Screw Pumps
-
Operating Within Limits:
-
Crucially, never exceed the pump’s maximum rated pressure or temperature.
-
Operate within the recommended flow range for your specific Single Screw Pump model and fluid. Avoid prolonged operation at very low or very high flows unless designed for it.
-
Ensure the pumped fluid is compatible with the pump’s wetted materials (stator elastomer, rotor, casing).
-
-
Startup & Shutdown Procedures:
-
Always start with the discharge valve partially open. Open fully once running.
-
Always shut down by closing the discharge valve first, then stopping the pump. Finally, close the suction valve. This protects the stator from pressure shock.
-
-
Continuous Monitoring:
-
Regularly log key parameters: pressure, flow rate (if monitored), motor amps, bearing temperatures, vibration levels. Trend deviations signal potential problems.
-
Listen for unusual noises (cavitation sounds like rattling gravel, excessive vibration hum).
-
Visually inspect for leaks, especially around the mechanical seal or packing gland.
-
Phase 5: Essential Maintenance for Long-Lasting Single Screw Pumps
-
Routine Checks:
-
Lubricate bearings and drive components per the manufacturer’s schedule and using specified lubricants.
-
Check mechanical seal flush flow (if applicable) or packing gland adjustment (minimal leakage required for lubrication/cooling).
-
Inspect suction strainer and clean/replace as needed.
-
-
Stator Monitoring: The stator elastomer is a wear component. Monitor pump performance and pressure capability. A significant drop in flow at constant pressure often indicates stator wear.
-
Scheduled Maintenance:
-
Follow the manufacturer’s recommended intervals for inspecting and replacing wear parts (stator, rotor, seals, bearings).
-
When disassembling, carefully follow the manual. Note component orientation. Clean parts meticulously. Inspect for wear or damage. Replace worn parts with genuine manufacturer parts.
-
Pro Tip: Maximizing Single Screw Pump Life
-
Avoid Dry Running: Even brief dry running can rapidly destroy the stator elastomer due to friction heat. Ensure adequate priming and fluid supply.
-
Prevent Cavitation: Ensure sufficient NPSH (Net Positive Suction Head) is available. Keep suction lines clear, cool the fluid if necessary, and avoid excessive suction lift.
-
Use Correct Spare Parts: Always use OEM or manufacturer-approved replacement parts, especially for the stator and rotor. Material compatibility is critical.
Conclusion: Success with Single Screw Pumps
Adhering to these comprehensive guidelines for installation and use is non-negotiable for achieving optimal performance and longevity from your Single Screw Pumps. Careful installation, correct startup procedures, diligent operation within limits, and proactive maintenance are the cornerstones of success. By investing time in proper installation and use, you maximize the reliability and cost-effectiveness of your Single Screw Pump investment. Always prioritize consulting the specific manufacturer’s manual for your pump model – it is the ultimate authority.